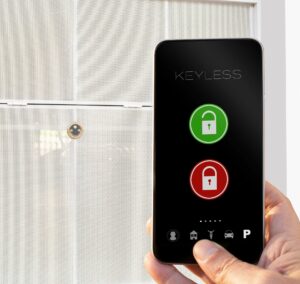
Upgrading from a standard or automatic garage door to a smart garage door is a huge step. You’re taking the initiative to bring your garage door into the future by using the latest in smart technology. Whether you already have a smart home setup or plan to start this conversion with your garage door, knowing about the smart garage door installation process will be incredibly useful. Continue reading this smart garage door installation guide to get started.
A Smart Garage Door Installation Guide
No smart garage door works the same or has the same installation requirements. That said, an installation guide will still make the process easier. For a successful smart garage door installation, follow the steps below:
1. Find Out Which Smart Garage Door Is Compatible
Before you can even think about installing a smart garage door, you need to do some research. There are countless smart garage door brands on the market, so you need to determine which one works best for your home. If you already have a smart home system, narrow down your list to ones that will be compatible with said system. If you don’t have a smart home system, use this opportunity to consider which one you’d like to have that would work with your smart garage door.
2. Gather The Necessary Equipment
Once you know which smart garage door you will be installing, you’ll need to obtain the right equipment for the job. You’ll likely need a ladder, a screwdriver, and mounting equipment. Don’t forget to also include gloves and other safety equipment so you can protect yourself during the installation.
3. Turn Off And Disconnect Your Garage Door Opener
Speaking of safety, start your smart garage door installation by turning off your garage door opener and disconnecting it from its power source. The last thing you want to encounter during the smart garage door installation process is any accidents that could lead to property damage or injuries. Once you’ve powered off your garage door opener and disconnected it, you’ll be able to begin this upgrade.
4. Follow The User Manual Instructions
As stated earlier, every smart garage door works differently, so the best thing you can do is follow the specific instructions laid out in the user manual. The closer you follow these instructions, the more likely you are to be successful with this installation process.
5. Ensure There Is A WiFi Or Bluetooth Connection
After installing the technology itself, you’ll need to connect your smart garage door with the appropriate app and smart home system. However, in order to do this, you’ll need to ensure that there is a WiFi or Bluetooth connection. When that connection is present, you’ll need to pair the smart system with the appropriate app.

6. Test Your Smart Garage Door
After installing the smart garage door system and pairing it with the right app, you’ll need to reconnect your garage door to its power source and turn it on so you can test it. If there are no issues with the movement or significant time delays, then you’ll have successfully completed your smart garage door installation. If, however, your new smart garage door is facing difficulties, reach out to a professional for further assistance.
Our Technicians Will Help You With Your Garage Door Installation!
We hope this smart garage door installation guide will make your smart home conversion a breeze. If you find yourself having problems with the installation or getting your new garage door to work, don’t hesitate to seek help. If you happen to live in Houston, you can access the best services in the city with our team at M.G.A. Garage Door Repair. Contact us today, and our technicians will get your garage door in working shape in no time.

