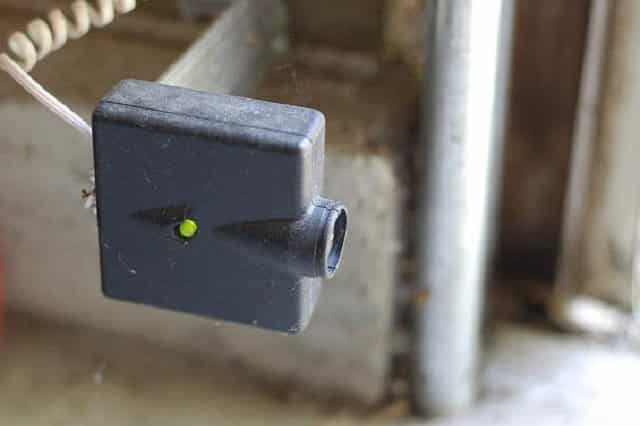
Back in the day, garage doors didn’t have sensors that prevented the door from closing on a person or nearby object. You had to be careful or suffer the consequences. Thankfully, in 1993, garage door sensors became a required safety measure. With this, we are able to open and close our doors, and if something or someone blocks the door, the sensor causes the door to retract, protecting the nearby object or person.
However, you could be missing out on an operating sensor if the sensor isn’t properly aligned. In this blog, we will show you how to align garage door sensors and give you some insight into how a garage door sensor works. Continue reading for the assistance you need.
How Does A Garage Door Sensor Work?
Every garage door is required to have infrared sensors on both sides. Both are six inches or so off the ground and situated on the inside of the garage door opening. There are a couple of ways to determine if something is preventing the door from opening properly.
Both photo-eyes must be able to see each other in order for the door to function. The infrared beam will also stop working if it is tripped. If you ever notice the light blinking, then that means there is something wrong with your garage door sensor.
How To Align Garage Door Sensors?
Understanding if your sensor is misaligned or not isn’t difficult. Simply by seeing the LED light on each sensor’s side, you will understand if you need to take action or not. Typically, the light is constantly green on each sensor.
However, when there is an alignment issue, there will be a flashing red light or there is no light. The problem could stem from dirt and debris covering a photo-eye, which can be resolved by wiping it off with a cloth. But if this isn’t the case, you need to learn how to align garage door sensors.
Step One – Turn Off The Power
You need to cut off the power to your sensors in order to begin the alignment process. Either turn off the switch to the sensors or cut off your garage’s power. Once you’ve done this, you can move on to the next step.
Step Two – Unscrew Sensors And Slide Them Downward
Next, the screws holding your sensors in place must be removed. To accomplish this, simply use a screwdriver to turn the screws counterclockwise. However, since you will only be adjusting the sensors, you only need to loosen the screws. Once that is done, slide each sensor as low as you can.
Step Three – Attach And Level A String On The Sensors
For the final step, you need to ensure that your sensors are leveled correctly, which you can do with a string. Tie a string to one of the sensors then run it across the doorway to tie on the other sensor. Ensure that the string, and therefore the sensors, are leveled. You can adjust the sensors until they are aligned. Then you can screw your sensors and turn the power back on. That’s all there is to it.

Call M.G.A Garage Door Today
Now you know how to align garage door sensors. You can always count on our staff at M.G.A Garage Door if you’d like to leave this job for the professionals. To keep your garage door at its best, we also provide a wide range of additional services for you to check out. Don’t hesitate to call us for the assistance you need; our professionals are more than capable to help.

